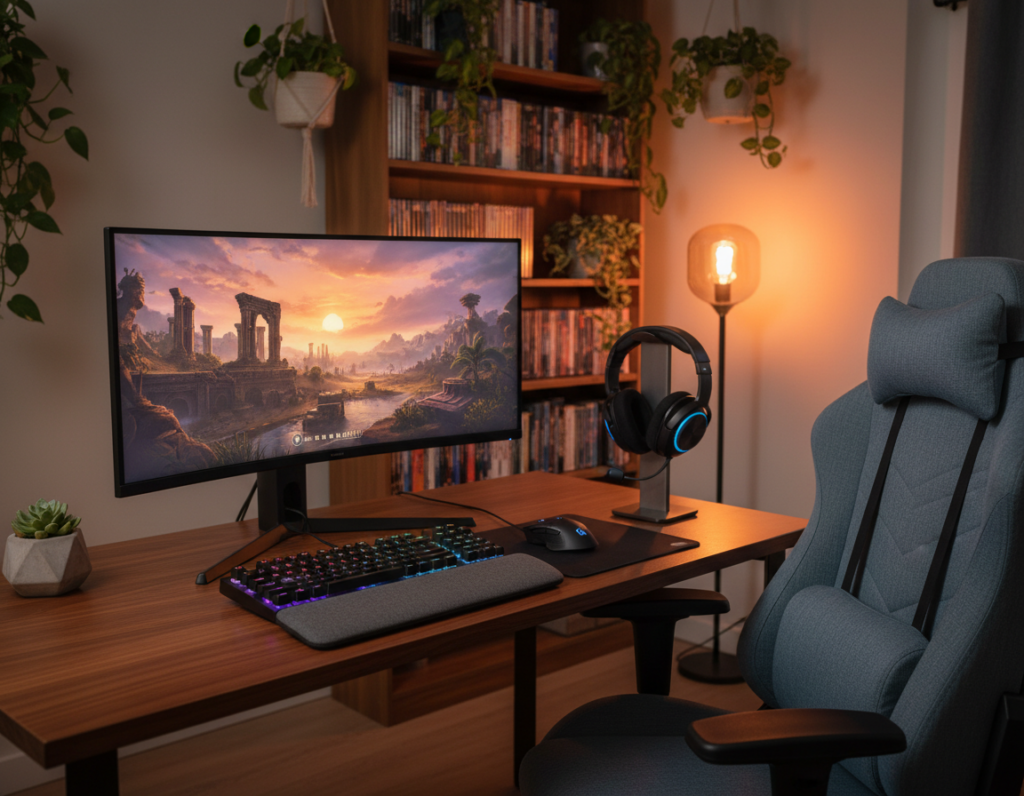
Players who want clear audio can make big gains with low-cost treatments. This introduction explains how affordable acoustic panels and foam options tame echo, manage high frequencies, and lift streaming quality without a costly overhaul.
Choosing the right acoustic panels and adhesive for installation turns a small area into a focused setup. Proper placement near a window or on hard walls helps speakers perform better and cuts distracting reflections.
Time spent picking options pays off: a simple, well-treated space makes voice chats crisper and keeps gamers engaged. With basic tools and the right panel treatment, anyone can craft a higher quality environment in a short time.
In short, sensible choices in foam, mounting, and layout deliver a clear, immersive experience. This section shows practical steps to reduce echo and build a soundproofing solution that fits a bedroom budget.
Understanding the Impact of Echo in Gaming Spaces
Uncontrolled reverberation changes audio detail and can mask critical in-game sounds. A short introduction helps explain why reflections matter and how simple treatments improve clarity.
The Science of Sound Reflections
When waves hit hard surfaces like walls, ceiling, or floor they bounce back. These reflections overlap with direct audio and create muddiness.
Key fact: a 10dB rise equals a tenfold increase in sound pressure, so small changes can feel much louder.
Common Audio Distractions
- Impact noise from doors or footsteps often disrupts dialogue more than airborne voices.
- Hard surfaces reflect frequencies unevenly, making some effects too bright and voices unclear.
- Using acoustic panels and foam absorbs energy instead of merely blocking it, reducing echo.
Practical takeaway: understanding how waves behave lets one place treatments where they stop reflections and improve in-game communication.
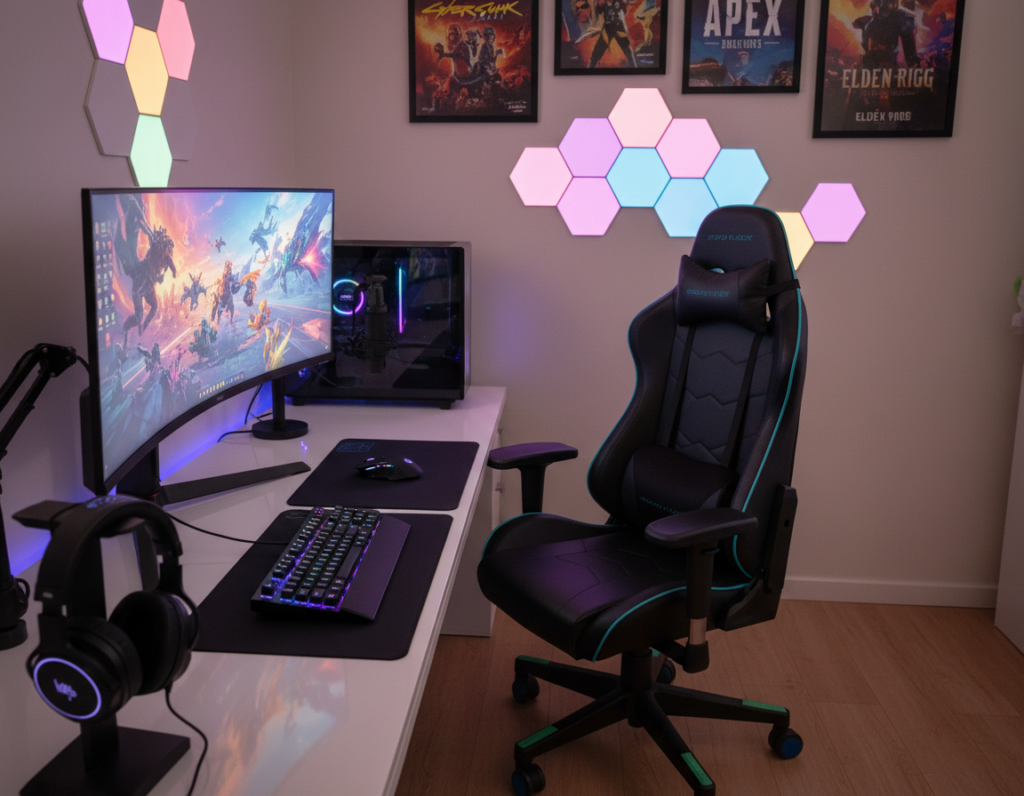
Why Gaming Room Sound Panels Are a Cost-Effective Solution
Smart, budget-friendly absorption gives crisp results that mimic pricier studio setups. Small investments in acoustic panels and foam deliver immediate improvement in audio quality without expensive construction.
Installation takes little time and often needs only lightweight materials and basic adhesive or Velcro. Mounting on a wall, door, or near a window reduces early reflections and lowers echo in the space.
A treated area controls frequencies so speakers perform more accurately. This improves voice pickup for streaming and cuts distracting noise for teammates during play.
- Lightweight materials are easy to handle and fit most surfaces.
- Foam absorption targets mid-to-high frequencies where voices live.
- Effective placement offers studio-like quality without major soundproofing work.
Practical takeaway: for gamers on a budget, these options give measurable gains in clarity and a more immersive experience with minimal installation effort.
Distinguishing Between Soundproofing and Acoustic Treatment
Knowing whether the goal is to keep external noise out or to tame reflections inside will determine which fixes matter most.
Acoustic treatment focuses on controlling echoes and improving clarity inside a space. It uses lightweight materials like foam and acoustic panels to increase sound absorption on a wall or ceiling surface.
Soundproofing aims to stop sound from entering or leaving. That requires denser materials, added mass, and seals at doors and windows.
Managing Airborne Noise
Airborne noise such as conversations or TV travels through the air and needs barriers with mass. For true isolation, mass-loaded vinyl or additional drywall works better than foam.
To reduce internal reflections quickly, seal gaps around a door and add heavy curtains. These steps complement acoustic panels and improve overall acoustics without a full renovation.
“Distinguishing these two concepts saves time and money by matching treatment to the actual problem.”
- Use foam for internal absorption and echo control.
- Use mass materials for soundproofing and blocking noise.
- Treat ceilings and walls where reflections are strongest.
Identifying Key Reflection Points in Your Setup
Map the primary reflection points in your setup to target treatments where they matter most.
Start by sitting at the desk and clapping once. Note where the clap echoes back first. These are the first-reflection surfaces and they matter most for clear sound.
The usual suspects are the walls to the left and right of the desk. Treating those spots with acoustic panels or foam cuts early reflections that muddy voice and effects.
Place a thin foam panel directly behind the chair to stop the back wall bounce before it reaches the mic. If streaming, add treatment on the ceiling above the desk to reduce vertical reflections.
- Wall side hits: left and right at speaker height.
- Behind the chair: absorbs rear reflections into the mic.
- Ceiling and floor: address vertical and floor bounce for cleaner voice.
- Window and door: add heavy curtains or a small panel to reduce mirror reflections.
Use a strong adhesive for safe installation so panels stay put over time. With a little time and placement strategy, gamers and content creators gain a cleaner, more professional audio space.
Selecting the Right Foam Style for Your Aesthetic
The right foam can improve clarity while also lifting the visual design of a setup. This section helps pick between common profiles so the space works for voice clarity and on-camera appeal.
Wedge Panels for Absorption
Wedge profiles are prized for strong mid-to-high frequency absorption. They reduce early reflections near the desk and behind the mic.
Practical tip: place wedges on the left and right wall at speaker height and behind the chair for best results.
Pyramid Panels for Visuals
Pyramid foam gives a geometric, professional finish that suits streaming setups. It offers decent sound absorption while creating depth on a wall.
- Mix wedge and pyramid styles to balance technical performance and design.
- Choose durable foam that keeps its shape; quality affects long-term sound absorption and appearance.
- Grid layouts on a wall create a clean, modern look that improves acoustics and aesthetics.
For a deeper guide to selecting materials, see choosing the right acoustic foam.
Evaluating Material Thickness and Performance Ratings
Not all foam is equal: the difference between decorative panels and effective absorbers is mostly in thickness and tested ratings.
Look for at least 5cm thickness to ensure meaningful absorption and better long-term quality. Thinner foam may feel cheaper but often lacks the density needed for reliable soundproofing in active setups.
Standard 50x50cm panels fit most walls and make layout simple. Choose sizes that allow even coverage across first-reflection surfaces.
- An NRC between 0.4 and 0.7 indicates good sound absorption across common frequencies.
- Consider ceiling and floor treatments; these surfaces often need thicker material to control vertical reflections over time.
- Check density and lab specs so materials actually reduce noise instead of shifting it to another surface.
Practical takeaway: verify thickness, size, and NRC before buying. This ensures panels and foam solve real acoustics problems and protect the investment in a gaming room setup.
Essential Tools for DIY Installation
A short kit of adhesive, Velcro, and a level gets most acoustic installations done right. Many users prefer DIY: about 80% of customers install their own acoustic panels with basic tools and clear instructions.
Adhesive Strips
Adhesive strips offer a damage-free and renter-friendly way to mount a panel to a wall or door. Clean the surface first and press firmly to avoid future falls.
Velcro Mounting
Velcro provides a semi-permanent option that makes removal easy. Use a level to align multiple pieces for a tidy design that looks great on streaming feeds.
Spray Adhesive
For a long-term fix, spray adhesive bonds foam or thicker acoustic materials to surfaces and ceilings. This method is best for homeowners who plan to stay put.
- Tip: clean surfaces before any installation.
- Use a level for consistent alignment.
- Choose the adhesive type based on permanence and materials.
“With the right tools, installation takes little time and delivers a clear, practical solution for reducing noise and improving voice pickup.”
Strategic Placement for Maximum Audio Clarity
Start with the listener’s position and map mirror points; those spots yield the biggest clarity gains. Identify where reflections hit first and focus treatment there.
A practical rule: install about 8–12 panels to cover first-reflection zones and the rear wall behind the desk. This quantity typically balances coverage and budget for a standard desk area.
Place foam at the left and right mirror points to stop early bounce. Add a small cluster behind the speakers and one above the desk on the ceiling to absorb high frequencies that cause echo.
If streaming, treat the area behind the chair so the mic hears the voice, not a back-wall reflection. Use a reliable adhesive for secure installation and mount panels near a window or door where reflections are common.
- Map first reflections from the desk position.
- Use 8–12 pieces to cover left/right and rear wall areas.
- Combine ceiling and behind-speaker treatment for better absorption.
- Secure with adhesive and treat near windows or doors when needed.
“Proper placement ensures that game audio stays crisp and the microphone captures the voice — not the room.”
For a visual guide on where to place acoustic panels, consult this placement guide: where to place acoustic panels. Following these steps helps gamers create a professional setup that improves both performance and content quality.
Enhancing Your Stream Quality with Proper Treatment
Taming early reflections is the fastest route to a cleaner microphone signal during live streams. Proper acoustic treatment prevents a mic from capturing unwanted echo and makes commentary easier to hear.
Improving Microphone Pickup
When wall surfaces get treated with foam or acoustic panels, the microphone captures a clearer voice signal. This removes the hollow, reverberant tone that often comes from a hard surface or a closed door.
Reducing ambient reflections keeps background noise low and helps commentary cut through game audio. Many top streamers use acoustic panels to stabilize their environment so performance stays consistent at any hour.
- Treat first-reflection walls near the desk to reduce echo quickly.
- Combine foam clusters behind the mic and on side surfaces for balanced absorption.
- Use a few acoustic panels near doors or windows to limit late reflections.
Practical takeaway: modest investment in treatment delivers a professional streaming upgrade by improving mic pickup and overall sound clarity.
Maintaining Your Acoustic Setup Over Time
Inspecting mounts and cleaning foam preserves clarity and protects the investment. A quick visual check every few months ensures each piece stays firmly attached to the wall and continues to absorb reflections.
If any edge peels, they can reapply a suitable adhesive to restore the soundproofing solution. Rebonding keeps the installation stable and prevents loss of performance during longer sessions.
Dust builds on foam and can reduce effectiveness. Gently vacuum the surface with a soft brush attachment to keep the room tidy and the acoustics consistent.
As needs change, consider adding more pieces or exploring new options to refine the audio experience. Small updates over time provide a scalable approach that matches changing use and budget.
- Check mounts and edges periodically for signs of wear.
- Reapply adhesive when peeling appears to secure the wall attachment.
- Vacuum foam lightly to remove dust without damaging texture.
- Plan incremental upgrades to improve long-term performance.
Proper upkeep keeps the setup professional and extends the life of the foam. Regular inspections save time and protect the quality of the audio experience in small rooms.
Conclusion
A few targeted upgrades can transform an ordinary wall into an acoustic asset that improves clarity and focus.
, These steps are manageable and budget-friendly. By placing treatment where reflections hit first, one can cut echo and lift microphone pickup. Small clusters behind the desk and above the listener work well with minimal effort.
Routine care keeps the investment effective. Check mounts, clean foam, and adjust placement as needs change. Whether a casual user or a dedicated creator, these simple upgrades deliver clearer audio and a more professional setup. Start by choosing the right foam style and installation method to match the space and budget.