Creating a compact gaming audio setup in a small apartment demands smart choices. They must balance clear sound and limited space while keeping noise low for neighbors. This guide helps readers pick the right system, treatments, and speaker placement to boost immersion without major renovations.
Practical steps include choosing acoustic panels, managing bass with traps, and positioning speakers to cut reflections from walls and windows. Proper placement and a modest surround sound arrangement can raise quality and make games feel more lifelike. The result: a polished home experience that fits a tight budget and small room size.
Why Sound Quality Matters for Your Gaming Experience
How well you hear a scene can turn a routine playthrough into a fully immersive experience. Good sound helps players locate enemies, follow plot dialogue, and feel the scale of a game’s world.
Immersive cues let a listener pick out footsteps, gunfire direction, and environmental detail. Pros rely on that precision in competitive titles. Mechanical keyboards can reach 60–70 decibels during intense sessions, so balancing volume and clarity is vital to keep neighbors comfortable.
The Role of Immersive Audio
Immersive sound enhances spatial awareness and narrative depth. Poor room reflections or hard walls can smear dialogue and mask subtle effects. Optimizing the room yields clearer, more reliable cues and a richer home experience.
Stereo vs Surround Sound
Simple stereo systems offer solid clarity and take less space. Multi-channel surround sound delivers directional accuracy and a more cinematic feel. The difference is noticeable at once and can raise a player’s level of play.
- Stereo: compact, affordable, and straightforward.
- Surround: precise directionality and fuller immersion.
- Practical tip: manage volume and placement to protect neighbors and preserve room acoustics.
For deeper guidance on room treatments and options, consult targeted soundproofing resources.
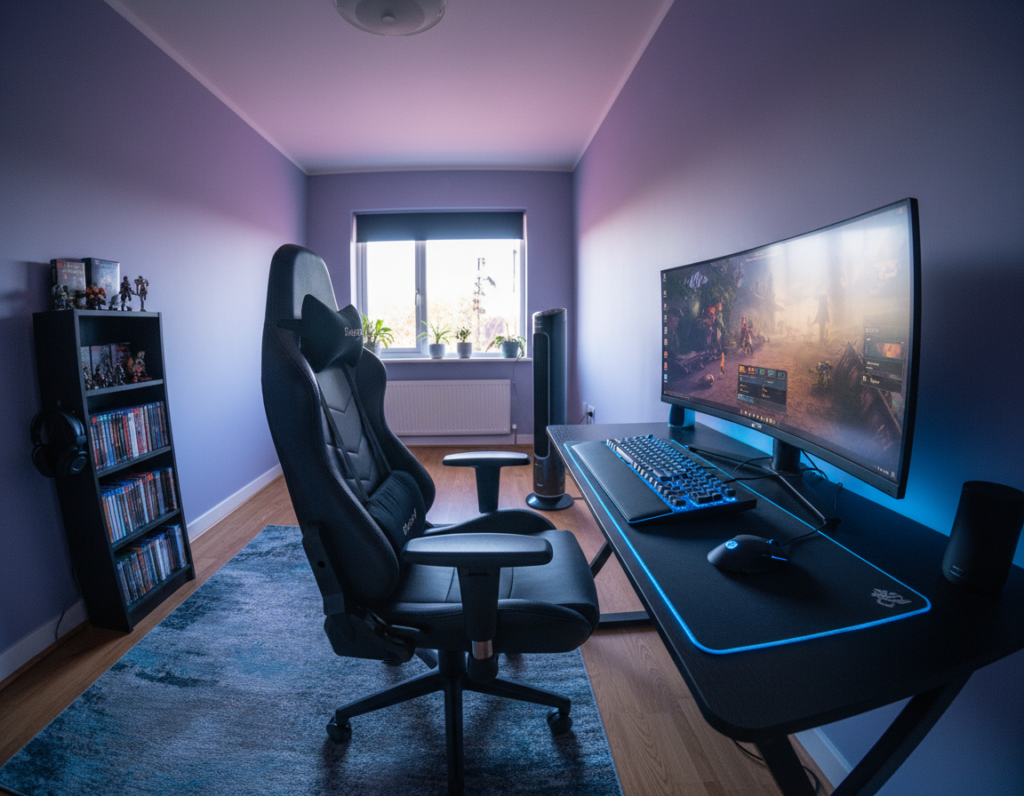
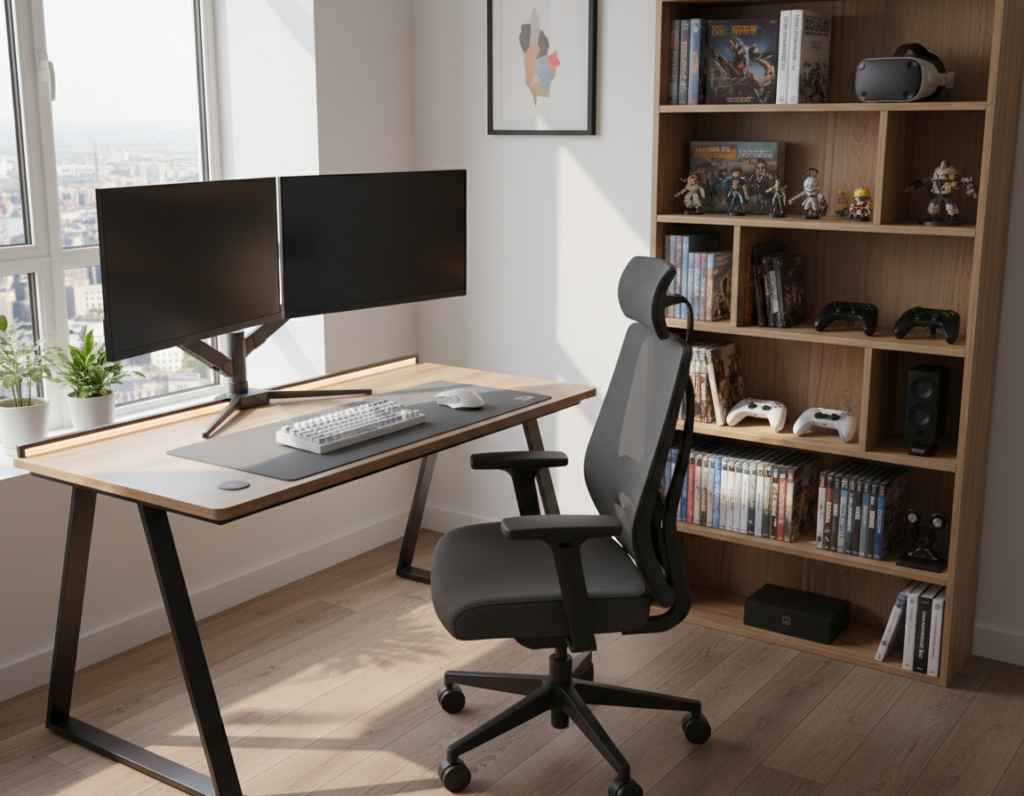
Understanding Your Apartment Gaming Audio Setup
A small living space demands targeted fixes to get the best sound without bothering neighbors. A clear plan looks at walls, windows, floor, and speaker aims before buying gear.
Start by treating the room. Add density to walls to block airborne noise and use 10mm underlayment on the floor to cut impact transfer to downstairs neighbors.
When they shop for speakers and a surround sound system, they should picture how reflections will interact with large window areas. Soft furnishings and rugs tame echoes in tight rooms.
Practical options include nearfield desks and modest surround arrays that adapt to small spaces. Proper placement helps a system deliver directional cues and better overall quality.
- Prioritize room treatments before upgrading hardware.
- Control windows and bare walls to improve system performance.
- Use underlayment to reduce floor impact noise in multi-story homes.
The Difference Between Soundproofing and Sound Absorption
Deciding if you need mass to stop noise or porous material to tame reflections shapes the whole approach to home acoustics.
Soundproofing is a structural solution that prevents sound from leaving a room. It uses heavy or dense materials. Adding 5/8” drywall with Green Glue can raise a wall’s STC to about 50–52. That level often requires construction and a higher budget.
Sound absorption improves the listening quality inside an apartment by reducing echoes and reverberation. Porous panels, foam, and thick curtains convert sound energy into tiny amounts of heat. This makes a surround sound system and room cues clearer.
Practical guide: for those on a tight budget, absorption is the most flexible solution. It cleans internal acoustics without altering walls or affecting structural integrity.
- Soundproofing blocks transmission between rooms; it often needs heavy materials.
- Absorption makes the home listening experience sound more professional by cutting reflections.
- Applying panels to walls is a common, low-cost solution that preserves living space.
Identifying Acoustic Weak Points in Small Rooms
Small rooms often hide acoustic flaws that eat detail and smear directional cues. A quick survey helps pinpoint where reflections, resonance, and gaps in absorption live. Identifying these weak points saves time and money when improving a listening area.
Bare Walls and Hard Surfaces
Bare walls and hard floors act like mirrors for sound. They bounce waves back and create echoes that ruin speech clarity and mask subtle game cues.
Corners can trap bass. Standing waves form and cause a boom that hides low-frequency detail.
Large Window Areas
Glass reflects high frequencies and leaks outside noise into the home. Large window areas reduce control over your surround sound and speaker performance.
Minimalist Furnishing
Too few soft surfaces leaves the room acoustically dry. A desk-and-chair setup lacks natural absorption and makes the system sound thin and bright.
- Check walls and corners for flutter echo and bass buildup.
- Cover large panes with heavy curtains to cut reflections and street noise.
- Add textiles or rugs to introduce needed absorption without major work.
- Note: fixing these issues first improves overall sound quality and makes any future upgrades more effective.
Strategic Placement of Acoustic Panels
Placing panels where reflections hit first gives the biggest boost to clarity in a small room. Use a mirror while seated to mark first-reflection points. Then mount panels at eye level along those wall spots.
Cover about 15–20% of wall surface to see noticeable improvements in sound quality. This level of coverage balances absorption with natural liveliness.
Corners trap bass. Add corner panels or traps to tame low-frequency buildup and make the surround sound system tighter. Ceiling panels also stop vertical reflections that blur dialogue and effects.
- Place panels behind microphones when streaming to reduce room reflections.
- Use matched panels near speakers to protect stereo imaging and preserve directional cues.
- In small spaces, disperse panels evenly; a few targeted pieces outperform random coverage.
Follow this guide to identify best placement and convert a cramped area into a focused listening space. The right placement transforms the home listening experience without major renovation.
Selecting the Right Materials for Your Space
Picking the right panel material transforms a cramped room into a clear, controlled listening space.
Materials matter. Felt and wood panels change how a wall handles reflections and low-end energy. That makes speakers and a surround sound system perform much better in a small room.
Felt Panels for Flexibility
High-density felt with up to 2000 g/m² can absorb as much as 90% of incident sound energy. These panels are self-adhesive and removable, so they suit a renter’s home and tight budget.
Wood Acoustic Panels for Design
Wood panels pair 12 mm wooden slats with 9 mm compressed felt to combine looks and function. They can be cut to size and provide durable wall treatment that improves overall quality.
- Start with a small coverage area and add pieces by room size.
- Balance visual style and absorption to match a surround sound system.
- When you shop, choose types that fit placement needs and long-term use.
“Choose panels that solve reflections while matching the room’s look.”
For more shopping guidance, see this material selection guide.
Managing PC and Hardware Noise
Fan whine and chassis vibration often steal clarity from an otherwise precise listening room. Reducing that noise improves the overall sound and makes the home experience more focused.
Vibration Dampening for Hardware
High-powered PCs generate fan and mechanical noise that masks subtle cues in a surround sound system. Decoupling parts and using silenced cases reduces the mechanical impact on the room.
- Fit rubber mounts or a Damplifier Pro pad under a chassis to stop fan vibration from reaching shelves and walls.
- Decouple hard drives and use quieter power supplies to limit low-frequency rattle that can muddy bass.
- Place the PC away from reflective surfaces and add a small panel on the adjacent wall to cut keyboard reflections; mechanical keyboards can reach 60–70 decibels.
- A quieter PC lets speakers and the surround sound system perform at full quality, improving immersion and clarity.
Small changes matter. Even moving a case a few inches or adding simple dampeners can have a major impact on perceived sound. For a practical troubleshooting walk-through, see this home audio fix.
Optimizing Audio for Streaming and Content Creation
Good streaming starts with a treated area around the microphone and a tuned listening system.
Streamers should focus on the mic zone first. Treat the nearby wall and ceiling to cut room reverb. This keeps the voice clear and reduces comb filtering that harms recorded game sounds.
Balance is key. A totally dead room sounds unnatural. Use panels to tame reflections while leaving some natural life so music and effects still breathe.
- Position monitors in a stereo triangle to hear game tones accurately.
- Place acoustic panels at first-reflection points and add a few traps in corners to tighten low end.
- Ensure the surround sound system is tuned so both the creator and viewers get an immersive result.
“Treat the mic area, tune speakers, and keep some room liveliness to sound professional on stream.”
Tenant-Friendly Installation Techniques
Smart mounting choices keep walls intact while improving a room’s sound quality.
Residue-free mounting methods let renters improve a surround system and protect their security deposit. Self-adhesive felt panels stick cleanly, leave no marks, and work well in shared living spaces.
Practical options that protect walls
Wood acoustic panels weigh 5.2 kg and sit sturdily on walls when mounted with screws. Those screws leave only small holes that are easy to fill before move-out.
- Use self-adhesive felt panels in rental rooms to avoid damage.
- Mount heavy wood panels with screws and document wall condition first.
- Protect floors with pads under stands and place traps in corners to control bass impact.
- Choose low-cost methods to manage sound while keeping neighbors comfortable and staying on budget.
“Document wall condition before and after installation to ensure a smooth transition when moving.”
Result: a compact, high-quality area for streaming content and play that respects lease rules and minimizes impact on walls, floors, and neighbors.
Conclusion
A few targeted changes can turn a small room into a precise listening space that feels much larger. This approach lifts overall experience and makes every element of gaming more engaging.
Addressing the walls and adding simple traps tightens low end and removes cluttered reflections. Treating the first-reflection points improves sound clarity and raises perceived quality.
Whether using a modest surround array or compact speakers, small moves—like moving a speaker away from a bare wall or adding panels to key walls—deliver big gains. Start with renter-safe installs and iterate. These steps protect neighbors, respect the lease, and make the home gaming area sound its best.