Effective light choices make streams and calls feel professional and engaging.
Casey Vogt notes that smart light placement lifts video quality and keeps a face clear on camera. A mix of key light, fill light, and backlight removes harsh shadows and adds depth.
Control of brightness and color temperature lets creators tune the mood at any time of day. Ring lights and LED lights both work when used to balance intensity and reduce glare.
Consistent, intentional sources shape a channel’s look and help content stand out. Front-facing illumination keeps the face visible while background colors add dimension and personality.
Why Proper Lighting Matters for Your Stream
Bright, even illumination turns average webcam footage into clear video. Good lighting cuts noise and grain so the camera captures crisp details instead of muddy pixels.
Well-placed lights help streamers appear more confident. Viewers read expressions and eye contact when the face is lit, which boosts engagement and trust.
Proper brightness also reduces eye strain for the audience. When color and temperature are consistent, viewers do not squint or fight screen glare during long sessions.
Modern LED products solve common problems by smoothing shadows and delivering steady output regardless of room conditions. A modest lighting setup makes content look professional and keeps viewers watching.
- Cleaner video: the camera works less to compensate for darkness.
- Stronger connection: a well-lit face improves emotional cues.
- Better mood control: warm or cool colors define a consistent channel look.
Mastering the Three Point Lighting System
Using three distinct light positions transforms flat footage into a three-dimensional, professional image.
Key Light Placement
Key light is the primary source and should sit at about a 45-degree angle to the face. This angle creates Rembrandt’s Triangle on the shadowed cheek when placed slightly above eye level.
Avoid placing the key light dead center in front. That front placement can make a video look harsh or clinical.
The Role of Fill Light
The fill light goes on the side opposite the key light. Set its brightness to about 50–75% of the key light to soften shadows without washing the face out.
This balance keeps facial details visible and prevents competing light sources from flattening the look.
Creating Depth with Backlighting
A backlight (rim light) sits behind the subject to separate them from the background. It outlines the silhouette and adds depth to the room.
When using a ring light as a key light, the camera sits in the center for even, head-on illumination. Also, turn off overhead room lights to avoid unwanted shadows.
- Tip: use LED panels with adjustable color temperature to match skin tones.
- Tip: fine-tune placement to remove harsh shadows and keep the face readable on camera.
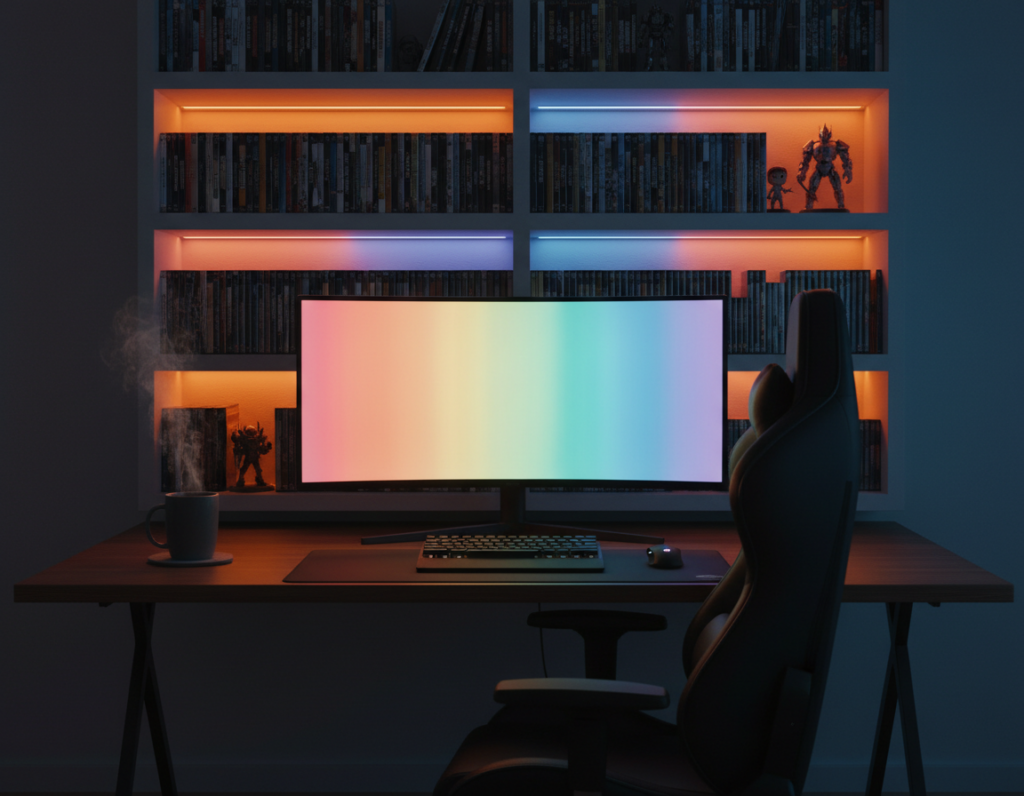
Essential Gear for Gaming Setup Lighting for Streaming
Good gear choices give creators precise control over color, mood, and brightness.
The Lume Cube Edge Desk Light provides adjustable brightness and color temperature, making it ideal as a compact key light in small spaces. The Lume Cube Panel Pro 2.0 is a portable LED panel that works well as a dependable fill light when on the move.
The Harlowe Max 80W LED Photography Light Kit delivers high power and memory functions that recall preferred brightness and color settings. The Harlowe Max 40W kit is a budget option with stands and mounts that simplify placement in tight rooms.
- Choose high CRI lights (90+) to preserve natural skin tones.
- Use RGB tube lights to add dynamic background effects and consistent mood colors.
- Prefer LED lights to reduce heat and keep the environment comfortable during long sessions.
When selecting a fill light, pick models with dimming control and battery power to avoid cable issues. A ring light remains a fast, reliable option that yields consistent results. For a full starter list, check the streaming starter kit.
Adjusting Color Temperature and Light Quality
Matching color temperature to the room helps video look natural and reduces odd color casts. A good choice keeps the face accurate and background tones consistent.
Understanding Kelvin and Warmth
Color temperature is measured in Kelvin (K). Daylight sits near 5600K, while warmer household bulbs are around 3200K. If a camera white balance is set to 3200K but the light source is 5600K, the video will appear too blue.
Bi-color or variable temperature LED lights make it simple to match the camera and room. This control helps maintain a consistent look across different times of day.
Hard Versus Soft Light Sources
Soft light is generally more flattering on camera. It creates gradual shadows and keeps facial details readable without harsh contrasts.
Hard light produces sharp, defined shadows that can distract. Apply diffusion—softboxes, cloth, or a ring light diffuser—to turn a hard light source into soft, pleasing illumination.
- Balance artificial and natural light: avoid competing sources that make uneven shadows.
- Control brightness: adjust each light so the key light gently dominates while fill and back lights support depth.
- Match color: use variable color temperature lights to keep face tones true across different times.
Pro Tips for Eliminating Harsh Shadows and Glare
A few tweaks to light position can remove distracting shadows and improve on-camera detail. Small moves often fix problems without buying new gear.
Manage ambient light and reflections by checking windows and overhead fixtures. They can cause glare on the webcam or monitor and create uneven brightness across the face.
Practical steps to reduce glare
Walk around the room while watching the camera feed. This helps identify sources of harsh shadows from side monitors or ceiling lights.
- Balance sources: place the fill light on the side opposite the key light to soften shadows on the face.
- Diffuse: use a softbox, diffuser, or white sheet to smooth transitions between highlights and shadows.
- Reflect: bounce light with a reflector or foam board to fill shadowed areas at minimal cost.
- Control ambient: create presets for daytime and evening so color temperature and brightness stay consistent over time.
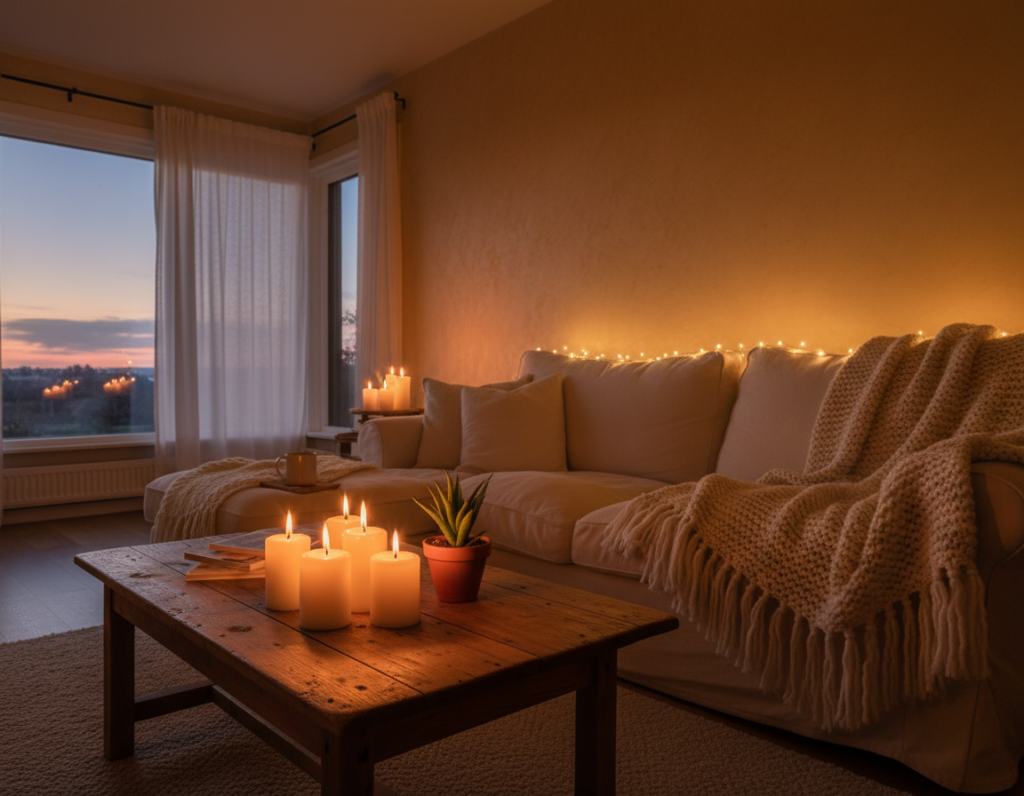
Keep lights clean and cables checked; dust and loose connections can reduce output or cause flicker during content sessions. Use small RGB accents in the background to separate the subject and reduce flat shadows.
Pro streamers often emphasize control: consistent placement, simple diffusion, and quick checks make video look far more professional even in a small room.
Conclusion
Small changes in light direction and strength yield a noticeable boost to on-camera polish. They help the face read clearly on the camera and reduce distracting shadows in the room.
Mastering a simple three-point lighting setup gives a clean, consistent look that grows a creator’s brand. Good lighting makes video clearer and more engaging without expensive gear.
, To explore practical charts and product suggestions, consult the lighting setup guide. Experiment with placement and minor adjustments until the lights suit the room and the stream’s tone.
Consistent practice yields a polished result that keeps viewers returning and makes content feel professional every session.